It’s inevitable, teaching the writing process. It doesn’t matter what grade level you teach, it needs to be reviewed every year! Why not have them learn and practice the writing process in a fun and unique way? I love using playdough to show students a strong visual of the writing process and how they use it in other ways outside of writing! Want to know how you can do this in your classroom? I have a step-by-step lesson all ready to go for you below! Come check it out!
I love to do this lesson at the beginning of the year before I even utter the words ‘writing process’. When teaching, I want the students to not even know they are in writing class. I want them to enjoy the process of creating and moving through the steps without any added pressure of thinking about writing.
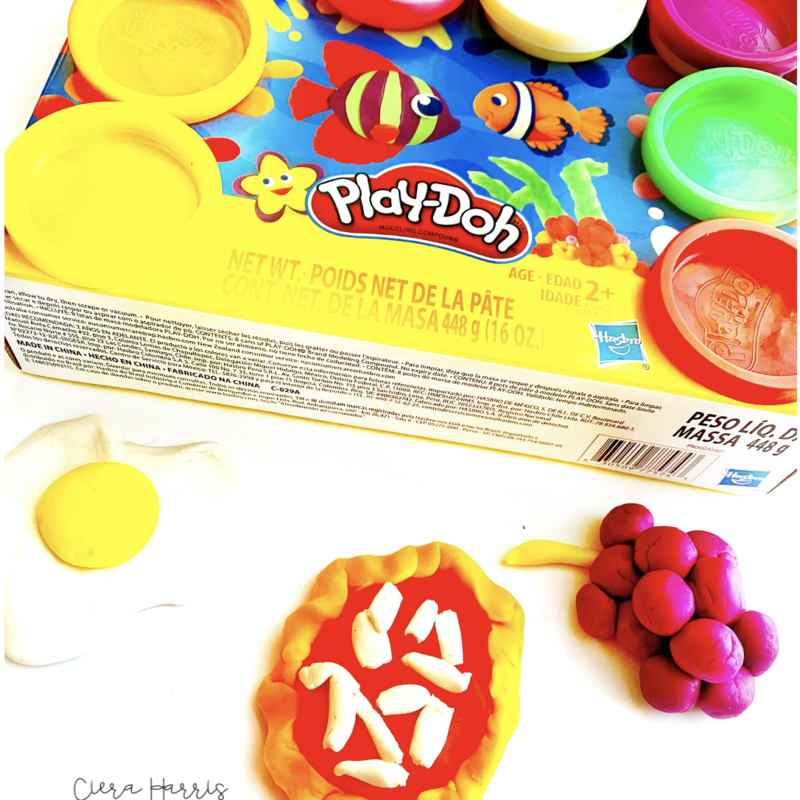
The only materials you will need for this lesson is a small piece of playdough and sticky note for each student. I love to buy the small “Play-doh Party Packs” because it gives each student just the right amount of playdough for this activity. If you have time, I would even let the students pick which color of playdough they want to use based on the information they find out later (keep reading!).
Writing Process Step #1:
Like I mentioned above, make sure you don’t use the words ‘writing process’ or even the actual vocabulary of the writing process with your students as you go through these steps. Keep some mystery in what they are doing or why they are doing it. To begin, come up with a topic (writing prompt) for your students to focus on. I ALWAYS use ‘my favorite 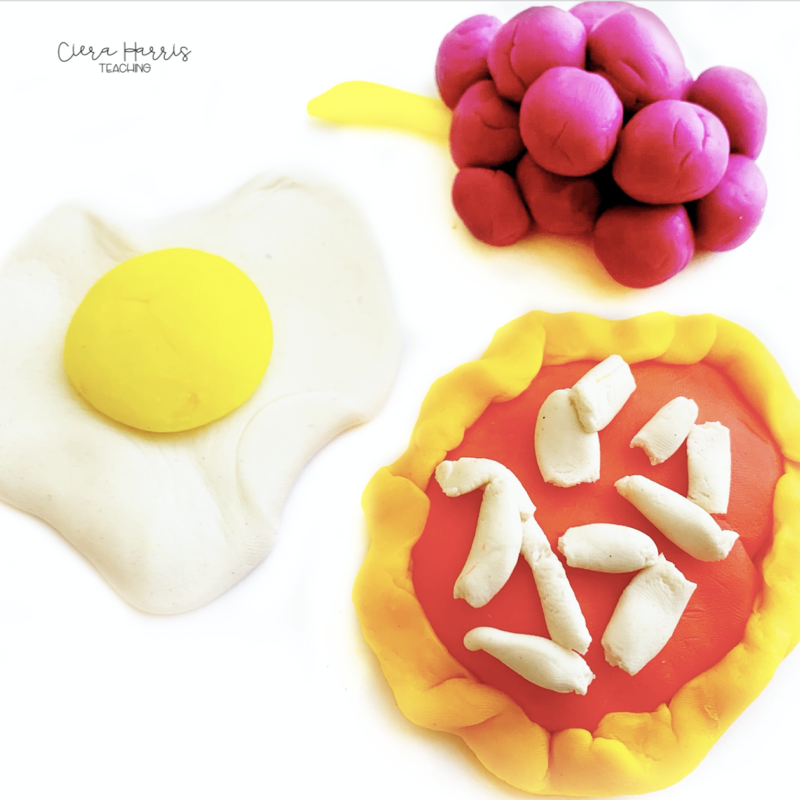 food’ because it’s simple and something every child can relate to.
I begin by giving each child a sticky note and having them write down 3-5 of their favorite foods. Then I quickly have them share with a neighbor what those foods are. I might say, “As you’re thinking about your own list, it’s good to hear what others have to say in case they have an idea that you might have forgotten about!”
After sharing their list, I then ask them to circle ONE food on their sticky note. Which one out of their list is their ultimate favorite? Unknowingly to them, they have just completed the ‘brainstorm‘ part of the writing process!
Writing Process Step #2:
After their favorite food has been circled, I now explain that we are going to create that favorite food with playdough! (This is where allowing students to pick the color of play dough they want to use might come in hand) Give each student a piece or small container of playdough. Set a timer for 3-5 minutes and allow them to make the food out of playdough as best as they can!
As they are creating, encourage them to visualize the food. Think about the small details that make that food special. How can you incorporate those details into your creation?
Unknowingly to them, they have just completed the ‘first draft‘ part of the writing process!
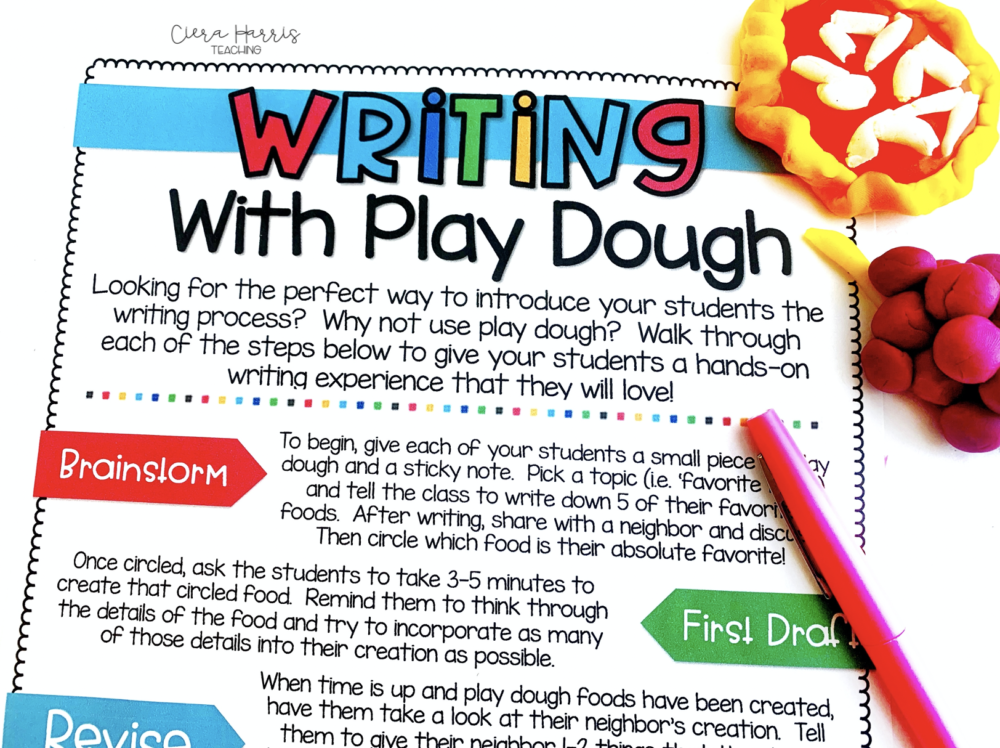
So are you frantically taking notes or trying to remember all of these steps? Don’t worry! I’ve got you covered! You can download my FREE Writing with Playdough lesson plan page just by entering your email address below!
Writing Process Step #3:
After students have been given time to work on their creation, have them now stop and turn to a partner. With their partner, have them take turns showing off their creations. Each person should tell their partner 1-2 things that they love about their creation as well as 1-2 things that would make their creation better. Each person is critiquing their partner’s playdough creation in hopes to help make it better!
You can even take it a step further and do a quick gallery walk with everyone’s creations. Have students place a blank sticky note next to their creation on their desks. Students talk around and silently write down feedback (both positive and negative) about the creations.
Again, unknowingly to them, they have just completed the ‘revise‘ part of the writing process!
Writing Process Step #4:
 The next step is super simple. Now that students have feedback to go off if, it’s time to make their creations even better! Explain to students that we are going to take the feedback given from others as well as things we think need fixed and make it better!
Give the students 3-5 minutes to work on making their creations and put as many last-minute fixes into it as they can! They have now just completed the ‘edit‘ part of the writing process!
Writing Process Step #5:
We’re almost done! Now, all we need to do is to show off our amazing creations! For this step, have students present their final masterpieces. Explain why they chose it and even show off some of the details they included in the creation. This is the final draft!
After your entire class has had the chance to present their final piece, head to the front of the room. On the front board write down the 5 steps that the students just completed. (sticky note writing, food creation, feedback, making it better, presenting) Talk about each of the steps. Have they seen these anywhere before? Did this process feel familiar to them? Next to each of the other steps you wrote, write down the name of the writing process that goes with it.
I love seeing the students’ faces when they see the connection! They just completed the writing process! Take time to discuss each step of the process and how it felt. Do they think each part of the process is needed? Why?
So what do you think? A fun activity, yeah? Your students will love it and I hope you do too! Make sure to pin the image below to save this post for later! 🙂