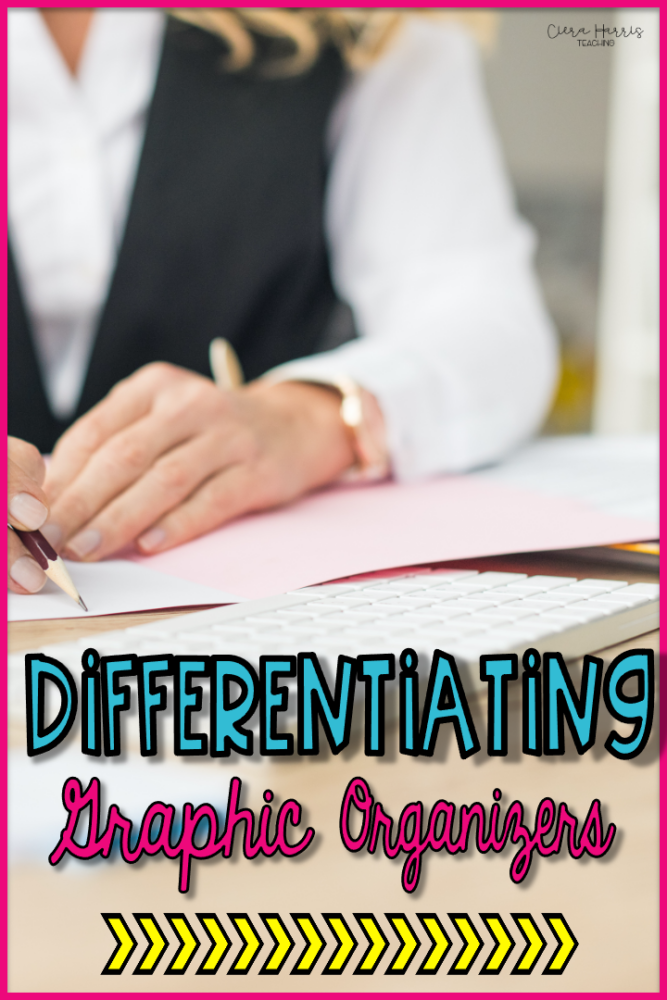
Did you know that graphic organizers are one of the easiest ways to differentiate for your students? Yes, that AMAZING resource we already love and use for tons of different activities makes differentiation easy! So, we are going to explore how differentiating graphics organizers work. Once you know this method, it will make planning with all types of graphic organizers much easier. Best of all, students will work at the best level for them.
Want to watch the video instead? Check it out below! Make sure to subscribe to get updates on all new content!
The Value of Graphic Organizers
I love graphic organizers so much! They are one of the absolute best ways to provide students with an open concept or open-ended atmosphere to express themselves. So, they get to think of their own ideas and write down their own thoughts. Additionally, students can write and analyze any type of reading skill, strategy, or whatever you’re working on! It is so nice to have students use graphic organizers to build their knowledge!
Getting Started with Differentiating Graphic Organizers
When first working on differentiating graphic organizers, I have over 70 Differentiated Graphic Organizers ready to go! Each has 3 different levels, covering tons of skills, such as the author’s purpose, point of view, and text features. However, it is important to know that while these are great and ready, you can also do this on your own! You can take any graphic organizer you use and differentiate it to meet the needs of your students.
Differentiating Your Graphic Organizers
Differentiating graphic organizers is simple to do with three easy steps. So, let’s break this down and ensure you understand how to use your resources.
Step 1: Identify Your Main Goal
You want to ask yourself: What is your on-level, tier one goal for this graphic organizer? If you do not have one in mind, find one you love and think of actual tier one expectations for your grade level. Additionally, you want to make sure the graphic organizer supports the current standards for your grade level. If you cannot find one you love, you can always design your own to match your expectations! Simply put, this is your baseline. You cannot differentiate either way up or down until you have your baseline.
Once you establish your favorite types of graphic organizers and their baseline, you can proceed to step two.

Step 2: Scaffold Down
Now, I’m going to be completely honest with you. This step is not necessarily hard, but it does take some thinking. When differentiating graphic organizers, you do not have to have a completely different graphic organizer for students who may struggle with a specific skill.
Instead, you can provide needed support by writing with a pen or pencil before you head to the copy machine. Honestly, you can provide a lot of help with your pencil. I like to think about the overall question of what support you think students need. Honestly, there are lots of different ways to work on differentiating graphic organizers, so let’s review some options.
- Definitions: This may be writing out the definition of cause and effect or other important terms. Really, you can provide a definition for any word students need to know.
- Reword a Question: Begin by taking your on-grade graphic organizer that has questions on it. Then, take your white out to make it invisible. Next, reword your question for students who struggle. For instance, you may break the question down into two parts. This will help scaffold learning and allow students not to feel overwhelmed.
- Less Evidence: Evidence is one of the biggest components of graphic organizers. Honestly, students need to provide evidence to show the reason behind their answers. However, we can have students provide different amounts of evidence. For instance, on-grade students may provide two pieces, and students who struggle may provide one really strong piece of evidence. You can even simply X out a question or section.
- Provide Examples: It is so helpful for students to see models! So, maybe you give them one example in each graphic organizer section. Or, you provide one example of character traits for one character, and students identify a trait for another. Having examples will also allow students to walk through the lesson in small groups before working independently.
- Provide or Create a Word Bank: By differentiating graphic organizers with word banks, students receive needed support as they work to find evidence. You may have just enough words or extra words for students to use in the process of elimination. Either way, there is an extra tool to help them get started.
- Give Them Options: You may have some areas with options, and students circle or highlight the option they think is best. Then, they can use their own words to explain or justify why.
- Give Sentence Starters: Honestly, the biggest struggle can be just getting started. So, sentence starters allow students to begin a sentence and then run with it as they add their ideas.
- Give Questions: This is a great way to make differentiating graphic organizers that guide student thinking. For instance, each section can have an extra prompt question to guide their thinking to the correct definition or answer. This is a great way to help ensure students are on the right page.
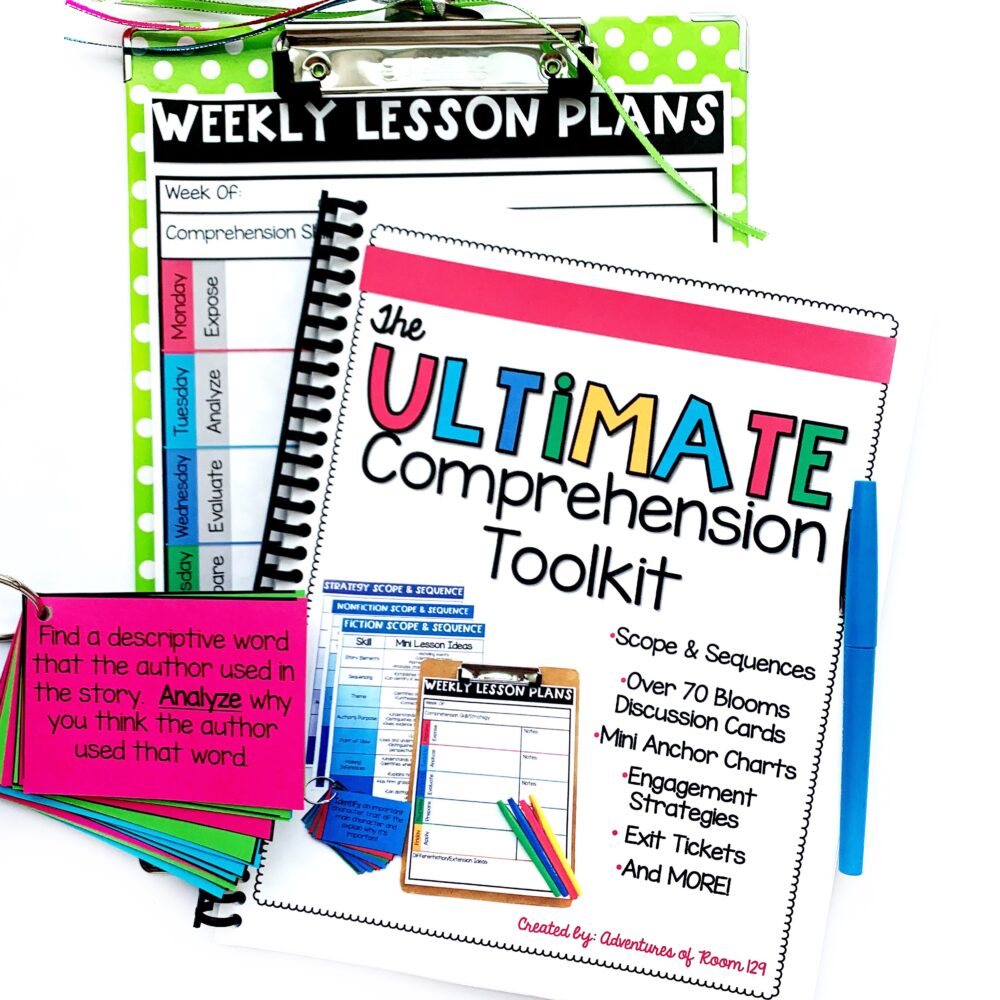
Struggling with comprehension? Grab this FREE Toolkit!
Step 3: Scaffold Up
Let’s now explore the other direction. It is time to create types of graphic organizers that scaffold up. This involves challenging students who need them.
- Level Up: When scaffolding up, you want students to expand thinking beyond the text itself and apply it to the real world. So, think about the next level of the skill. This may be the progression followed in the next grade or more writing. You can edit the graphic organizer by choosing more advanced vocabulary, writing with more advanced words, or expanding the why behind the question.
- Explain Why: This is a powerful way to scaffold up! Students can always explain the why behind their answers.
- Provide More Options: If you give two examples, scaffold up by giving three.
- Defend Their Answers: Instead of justifying, students have to defend their answers! I love to have students fill out the graphic organizer, and then I correctly or incorrectly provide answers. Then, students have to defend their answers and discuss why they are correct or incorrect. This error analysis is a great way to get students thinking.
- Response to Text: This is a great way to add more rigor when differentiating graphic organizers. It occurs when students write a paragraph or multi-paragraph answer to an overarching question. Students will see a question that is a response to the text, flip their paper over, and then write. This open-ended question requires a lot of out-of-the-box thinking!
 I hope you are comfortable and confident in differentiating graphic organizers with these tips! You do not need to spend any of your hard-earned money to build so much knowledge and engagement in your classroom. By identifying the main skill and scaffolding up or down, students will work at the level best for them! They will grow so much throughout the year with these types of graphic organizers!
If you do not want to miss any of the upcoming lessons, join my email list to be notified of all the interactive lessons coming up! By joining the email list, you will receive freebies for blog exclusive subscribers!